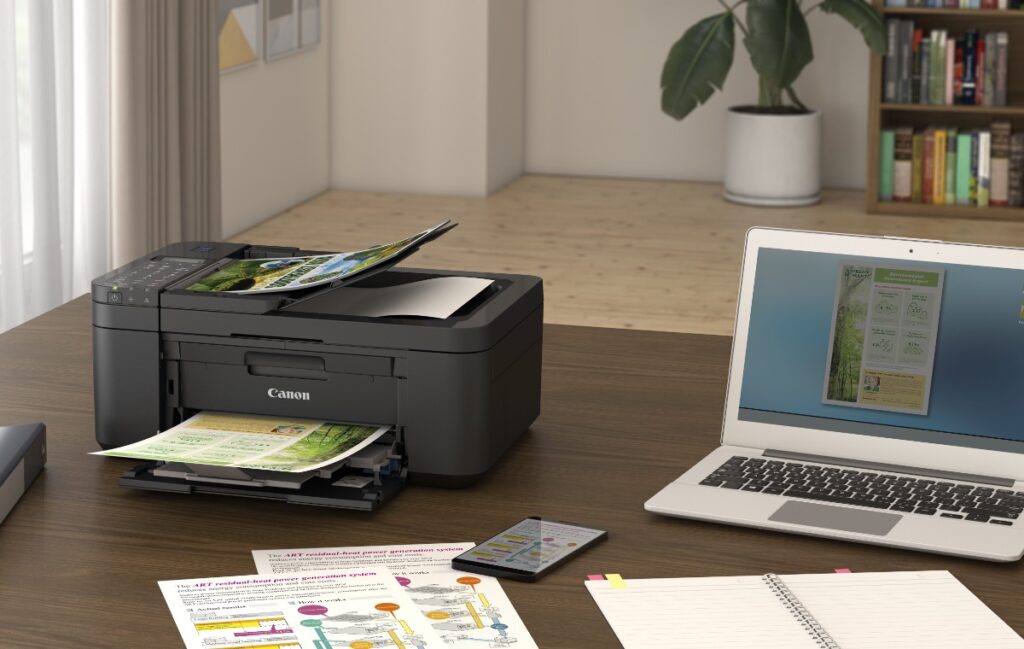
The Best Ways to Connect a Canon Printer to the WiFi

Connecting your Canon printer to WiFi allows you to print from anywhere in your home or office without the need for a direct cable connection. It’s a convenient and efficient way to streamline your printing tasks. Here are the best ways to connect your Canon printer to WiFi.
1. Using the Canon PRINT Inkjet/SELPHY App
Steps:
Download the App:
- Download the Canon PRINT Inkjet/SELPHY app from the App Store (iOS) or Google Play Store (Android).
Prepare the Printer:
- Turn on your Canon printer and ensure it’s in a ready state.
Connect via the App:
- Open the app and follow the on-screen instructions to connect your printer to the WiFi network. The app will guide you through finding your printer and connecting it to the same WiFi network your phone or tablet is connected to.
Benefits:
- Easy to follow instructions.
- No need for a computer.
- Suitable for a range of Canon printer models.
2. Using WPS (WiFi Protected Setup)
Steps:
Check Router Compatibility:
- Ensure your WiFi router supports WPS. There should be a WPS button on the router.
Prepare the Printer:
- Turn on your Canon printer and navigate to the WiFi setup menu using the printer’s control panel.
Activate WPS:
- Select the WPS option on your printer. This might be under ‘Wireless LAN setup’ depending on your model.
- Press the WPS button on your router within 2 minutes.
Complete the Connection:
- The printer will automatically connect to the WiFi network. You’ll see a confirmation message on the printer’s screen.
Benefits:
- Quick and simple setup process.
- No need for additional software or apps.
3. Using Standard Setup on the Printer
Steps:
Access Wireless Setup:
- Use the printer’s control panel to navigate to ‘Network’ or ‘Wireless Settings’. Select ‘Wireless LAN setup’.
Select WiFi Network:
- The printer will search for available networks. Choose your WiFi network from the list.
Enter Password:
- Enter your WiFi network password using the printer’s keypad. Confirm the details and complete the setup.
Benefits:
- Direct control via the printer’s interface.
- No need for external devices.
4. Using a USB Connection to Set Up WiFi (Windows and Mac)
Steps:
Connect the Printer to Your Computer:
- Use a USB cable to connect your Canon printer to your computer.
Install Canon Software:
- Download and install the Canon printer software from the Canon website. During the installation process, you’ll be prompted to choose between USB or wireless setup. Choose the wireless setup option.
Follow On-Screen Instructions:
- The software will guide you through the process of connecting the printer to your WiFi network. Once done, you can remove the USB cable.
Benefits:
- Useful for initial setup.
- Provides detailed instructions.
Tips for a Successful Connection
- Ensure Strong Signal: Place your printer close to your WiFi router during setup to ensure a strong signal.
- Update Firmware: Check if your printer’s firmware is up to date to avoid any compatibility issues.
- Restart Devices: If the connection fails, try restarting your printer, router, and the device you’re using for setup.
By following these methods, you can easily connect your Canon printer to your WiFi network and enjoy wireless printing. Each method has its own advantages, so choose the one that best fits your setup and preferences.
