How to Install Printer on Windows & Mac?
Installing a printer can seem daunting, but it’s quite straightforward once you know the steps. Whether you’re using a Windows PC or a Mac, this guide will walk you through the process of installing your printer quickly and easily.
Installing a Printer on Windows
- Unpack and Prepare Your Printer
- Unbox your printer and remove all protective materials.
- Plug in the power cable and turn on the printer.
- Follow the initial setup instructions on the printer’s screen if applicable (e.g., inserting ink cartridges, loading paper).
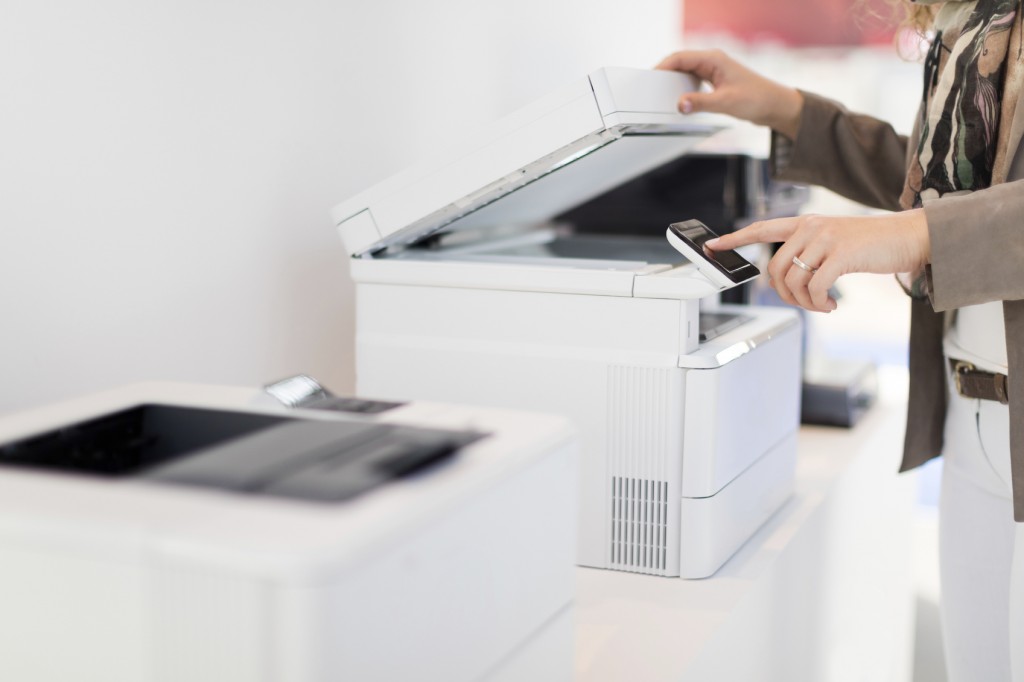
- Connect the Printer to Your Computer
- USB Connection: Plug the printer’s USB cable into your computer.
- Wireless Connection: Use the printer’s control panel to connect it to your Wi-Fi network. Refer to the printer’s manual for specific instructions.
- Install Printer Drivers and Software
- Automatic Installation: Windows often detects the printer automatically. Wait for Windows to install the necessary drivers.
- Manual Installation:
- Go to the Start menu and open Settings.
- Navigate to Devices > Printers & scanners.
- Click on Add a printer or scanner.
- Select your printer from the list and click Add device.
- If your printer is not listed, click on The printer that I want isn’t listed and follow the prompts to add it manually.
- Test the Printer
- Print a test page to ensure everything is working correctly. Go to Settings > Devices > Printers & scanners, select your printer, and click Manage > Print a test page.
Installing a Printer on Mac
- Unpack and Prepare Your Printer
- Unbox your printer and remove all protective materials.
- Plug in the power cable and turn on the printer.
- Follow the initial setup instructions on the printer’s screen if applicable (e.g., inserting ink cartridges, loading paper).
- Connect the Printer to Your Computer
- USB Connection: Plug the printer’s USB cable into your Mac.
- Wireless Connection: Use the printer’s control panel to connect it to your Wi-Fi network. Refer to the printer’s manual for specific instructions.
- Install Printer Drivers and Software
- Open the Apple menu and go to System Preferences.
- Select Printers & Scanners.
- Click on the + button to add a new printer.
- Select your printer from the list. Your Mac should automatically download and install the necessary drivers.
- If your printer is not listed, make sure it is turned on and connected to the same Wi-Fi network as your Mac, then try again.
- Test the Printer
- Print a test page to ensure everything is working correctly. Go to System Preferences > Printers & Scanners, select your printer, and click Open Print Queue > Printer > Print Test Page.
Troubleshooting Tips
- Ensure the Printer is On and Connected: Double-check that the printer is powered on and properly connected to your computer or network.
- Update Drivers: Ensure you have the latest drivers installed. Visit the printer manufacturer’s website to download the latest drivers if necessary.
- Restart Devices: Restart your printer, computer, and router to resolve any connectivity issues.
- Check for Errors: Look at the printer’s display for any error messages or indicators that might provide clues to the problem.
By following these steps, you should be able to install your printer on both Windows and Mac systems without any issues. Happy printing!