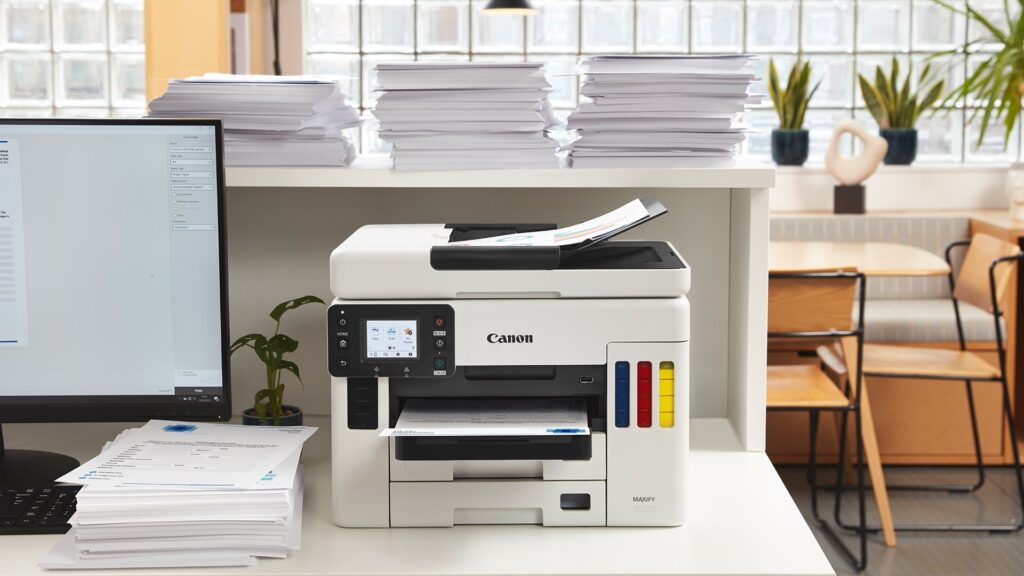
How Can I Fix Error Code b200 on Canon Pixma Support?

Canon Pixma printers are known for their reliability and high-quality printing. However, like all electronic devices, they can sometimes encounter errors. One common issue that users face is the “Support Code B200” error. This error typically indicates a problem with the printer’s print head or related circuitry. If you’re experiencing this issue, don’t worry! Here’s a step-by-step guide to help you resolve it.
Step 1: Turn Off and Unplug the Printer
The first step in troubleshooting the B200 error is to turn off the printer and unplug it from the power source. This helps reset the printer and can sometimes resolve temporary glitches.
- Press the power button to turn off the printer.
- Unplug the printer from the power outlet.
- Wait for at least 5-10 minutes before plugging it back in.
Step 2: Remove and Clean the Print Head
The B200 error often relates to the print head, so removing and cleaning it can help.
- Open the printer cover to access the print head and cartridges.
- Carefully remove the ink cartridges from the print head.
- Lift the lever to release the print head and gently remove it from the printer.
- Clean the print head contacts with a soft, lint-free cloth and a small amount of rubbing alcohol.
- Allow the print head to dry completely before reinserting it into the printer.
- Reinstall the ink cartridges and close the printer cover.
Step 3: Check and Clean the Cartridges
Dirty or improperly seated cartridges can also trigger the B200 error.
- Remove each ink cartridge and inspect it for any signs of damage or dried ink.
- Clean the electrical contacts on the cartridges with a soft cloth and rubbing alcohol.
- Reinsert the cartridges, ensuring they click firmly into place.
Step 4: Reset the Printer
Sometimes, a reset can clear the error code.
- Turn off the printer using the power button.
- Hold down the “Stop/Reset” button and press the power button to turn the printer back on.
- Continue holding the power button, release the “Stop/Reset” button, and then press it twice.
- Release all buttons and wait for the printer to initialize.
Step 5: Perform a Deep Cleaning
A deep cleaning can help resolve issues related to clogged nozzles or dried ink.
- Access the printer settings on your computer.
- Navigate to the maintenance tab and select “Deep Cleaning.”
- Follow the on-screen instructions to perform the deep cleaning process.
- Print a test page to check if the error is resolved.
Step 6: Replace the Print Head
If the error persists after trying the above steps, the print head might be damaged and require replacement.
- Purchase a new print head compatible with your Canon Pixma model.
- Follow the instructions provided with the new print head to install it correctly.
Step 7: Contact Canon Support
If none of the above steps work, it’s time to seek professional help. Contact Canon customer support for further assistance. They can provide additional troubleshooting steps or arrange for a repair if needed.
Preventive Measures
To avoid encountering the B200 error in the future, consider the following preventive measures:
- Regularly clean your printer and perform maintenance tasks.
- Use genuine Canon ink cartridges to ensure compatibility and quality.
- Avoid overloading the printer with heavy print jobs continuously.
- Keep the printer firmware updated.
By following these steps, you can effectively troubleshoot and fix the Canon Pixma Support Error Code B200. Regular maintenance and proper usage can also help prevent this issue from recurring.
