Complete Guide about ‘HP Printer Setup Wireless

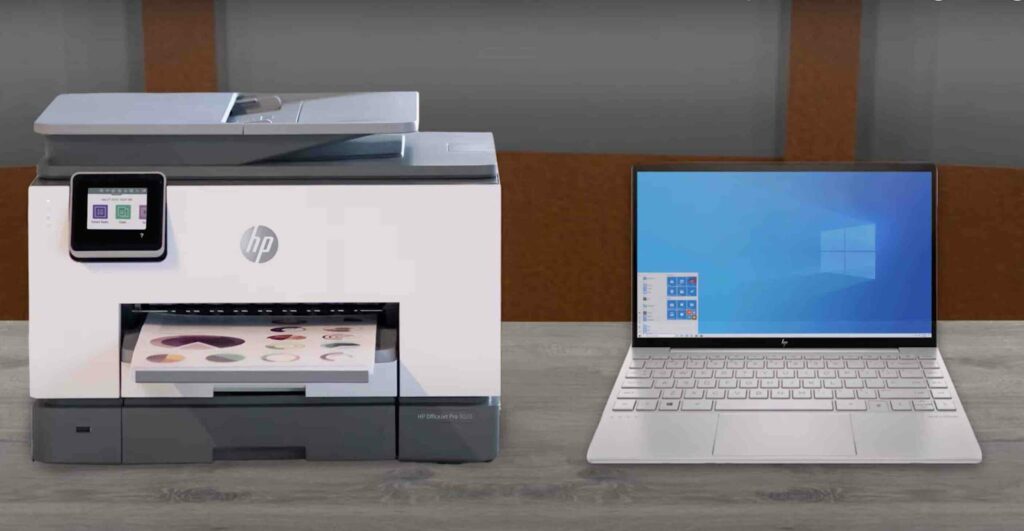
Setting up an HP printer wirelessly allows for greater flexibility and convenience. Whether you’re using it at home or in an office, a wireless setup means you can print from any device connected to the same network. This guide will take you through the steps to get your HP printer connected wirelessly with ease.
Step 1: Unbox and Prepare Your Printer
Unbox the Printer
- Carefully remove the printer from its packaging.
- Remove all tape, stickers, and packing materials from the printer.
Power Up
- Plug in the power cable and turn on the printer.
- Follow the on-screen setup instructions to complete the initial setup, including installing ink cartridges and loading paper.
Step 2: Connect Your Printer to the Wireless Network
Option 1: Using the HP Auto Wireless Connect
- HP Auto Wireless Connect
- During the initial setup, select Wireless when prompted.
- If available, choose Yes, send my wireless settings to the printer (recommended).
- Follow the on-screen instructions to complete the setup. This method allows the printer to connect to your network automatically.
Option 2: Using the Wireless Setup Wizard
- Wireless Setup Wizard
- On the printer’s control panel, go to the Network or Wireless Settings menu.
- Select Wireless Setup Wizard.
- Follow the on-screen instructions to select your network and enter the network password.
Option 3: Using Wi-Fi Protected Setup (WPS)
- WPS Button
- Press the WPS button on your router.
- Within two minutes, press the WPS button on your printer.
- The printer will connect automatically to your wireless network.
Step 3: Install Printer Software and Drivers
For Windows
Download Software
- Go to the HP Support website.
- Enter your printer model and download the latest drivers and software.
Install Software
- Run the downloaded file and follow the on-screen instructions.
- Select Wireless as the connection type during the installation process.
- Complete the installation and print a test page to ensure the setup is successful.
For Mac
Download Software
- Go to the HP Support website.
- Enter your printer model and download the latest drivers and software.
Install Software
- Open the downloaded file and follow the on-screen instructions.
- During the installation process, select Wireless as the connection type.
- Add the printer in System Preferences > Printers & Scanners by clicking the + button, selecting your printer from the list, and following the prompts.
Step 4: Connect Mobile Devices
Using HP Smart App
Download HP Smart App
- Download the HP Smart app from the App Store (for iOS) or Google Play (for Android).
Set Up Printer in HP Smart App
- Open the app and tap Set Up a New Printer.
- Follow the on-screen instructions to connect the printer to your wireless network.
- Once connected, you can print, scan, and manage your printer from your mobile device.
Troubleshooting Tips
- Ensure Proper Network Connection: Make sure your printer and device are connected to the same Wi-Fi network.
- Restart Devices: Sometimes a simple restart of your printer, computer, or router can resolve connectivity issues.
- Update Firmware: Ensure your printer’s firmware is up to date. Check the HP website for any available updates.
- Re-run Wireless Setup Wizard: If you encounter issues, try rerunning the wireless setup wizard on your printer’s control panel.
Conclusion
Setting up your HP printer wirelessly can streamline your printing process and provide greater flexibility. By following these steps, you should be able to connect your printer to your wireless network and start printing from any device. If you run into any issues, refer to the troubleshooting tips or visit the HP support website for additional help.
